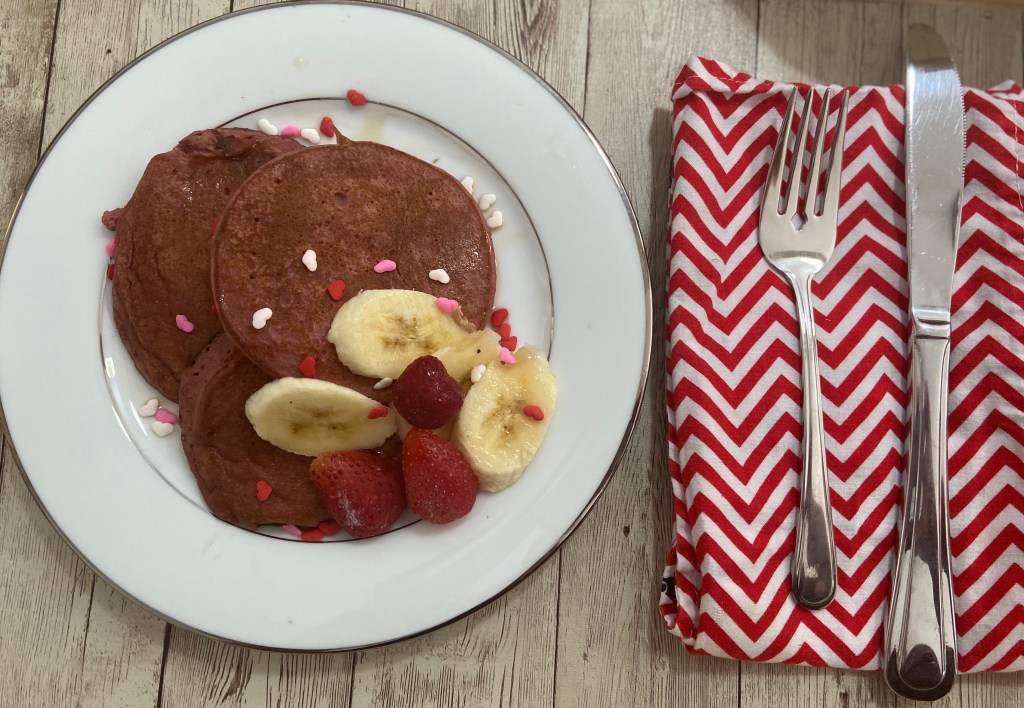
Ingredients
- 2 eggs
- 1/2 cup strawberries (frozen)
- 1/3 of a beet
- 1 banana
- 3/4 cup oats
Directions:
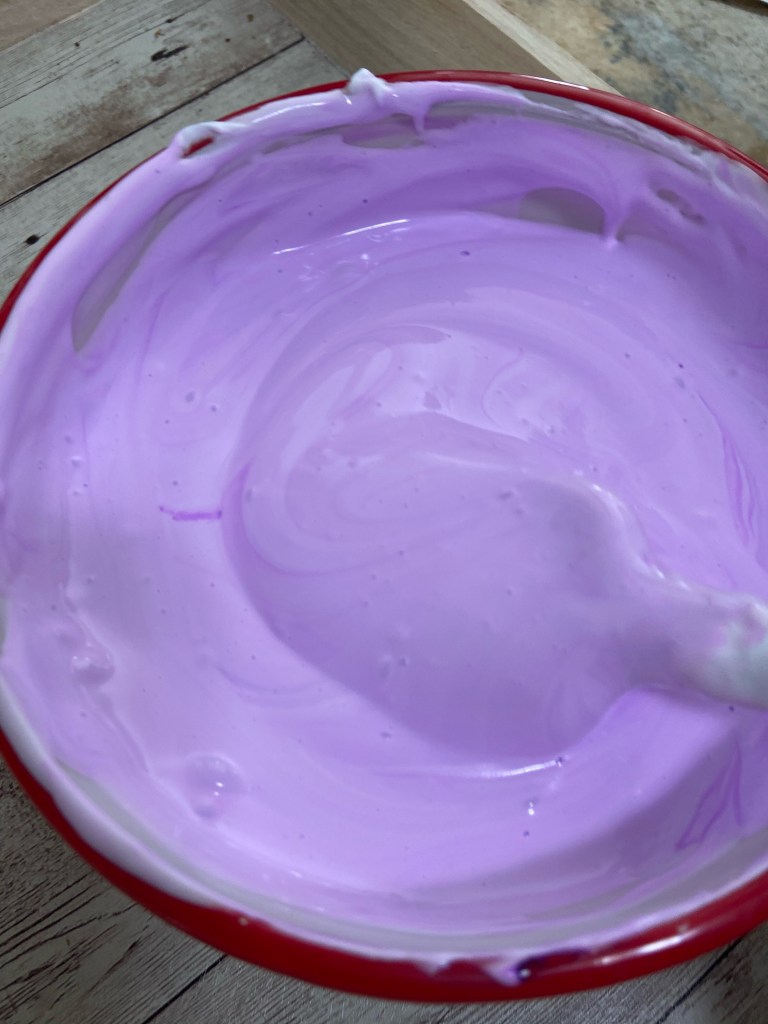
- Place all of the ingredients in a blender and blend until smooth.
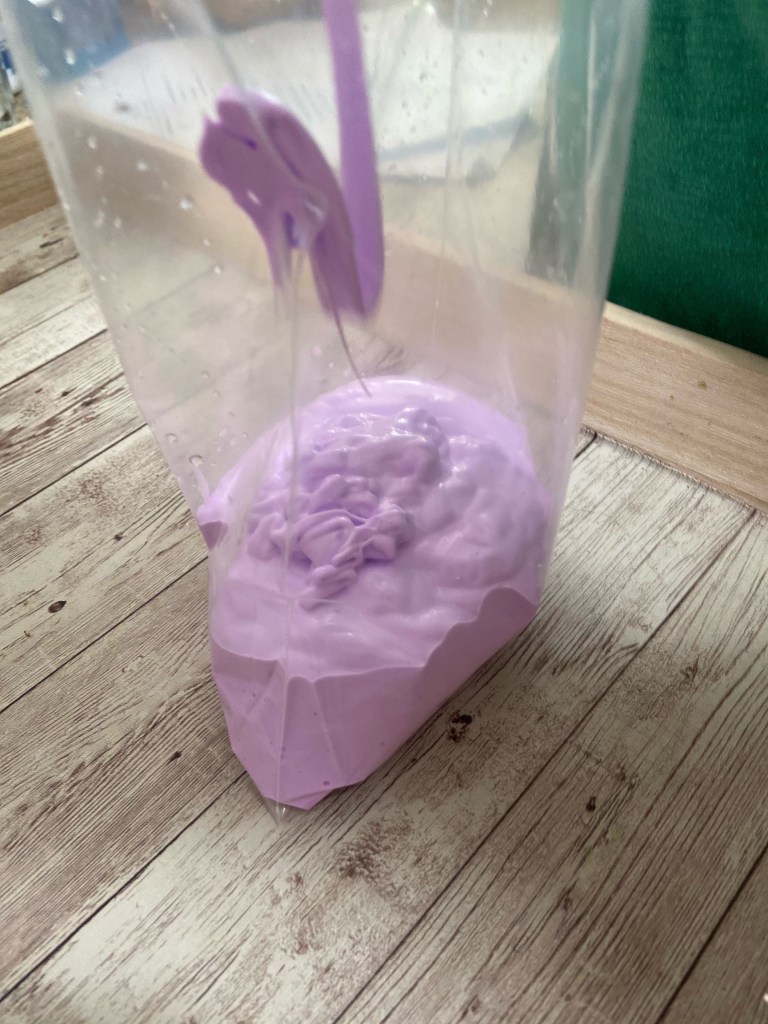
- Heat oil in a skillet over medium heat and use a laddle to scoop the batter into the pan for each pancake.
- Enjoy eating these delicious and healthy pancakes!