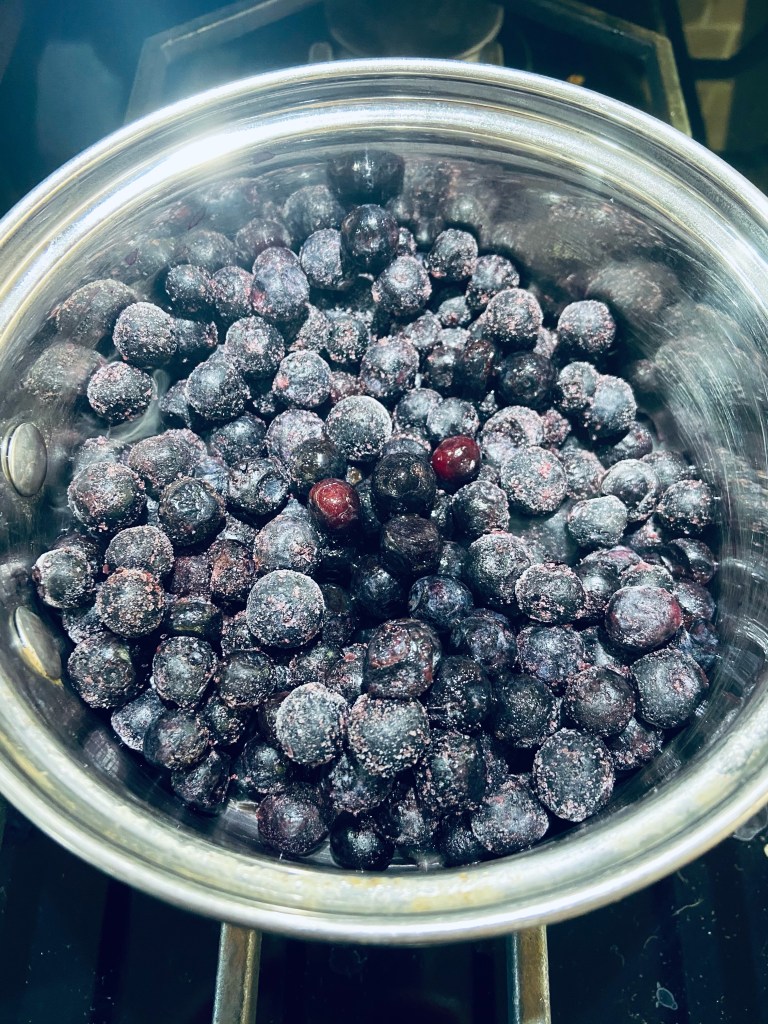
Over medium heat stir the berries until they heat up and can be easily mushed with a fork.
Stir in the vanilla and chia seeds. Mix well.
Remove from heat and allow to cool.
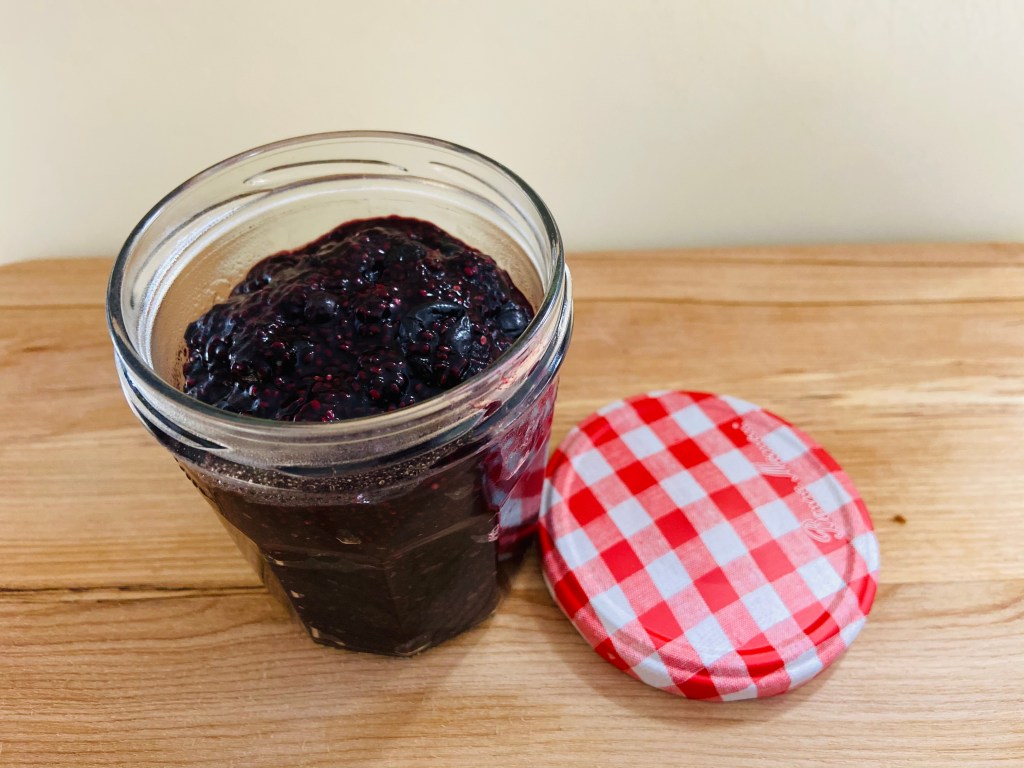
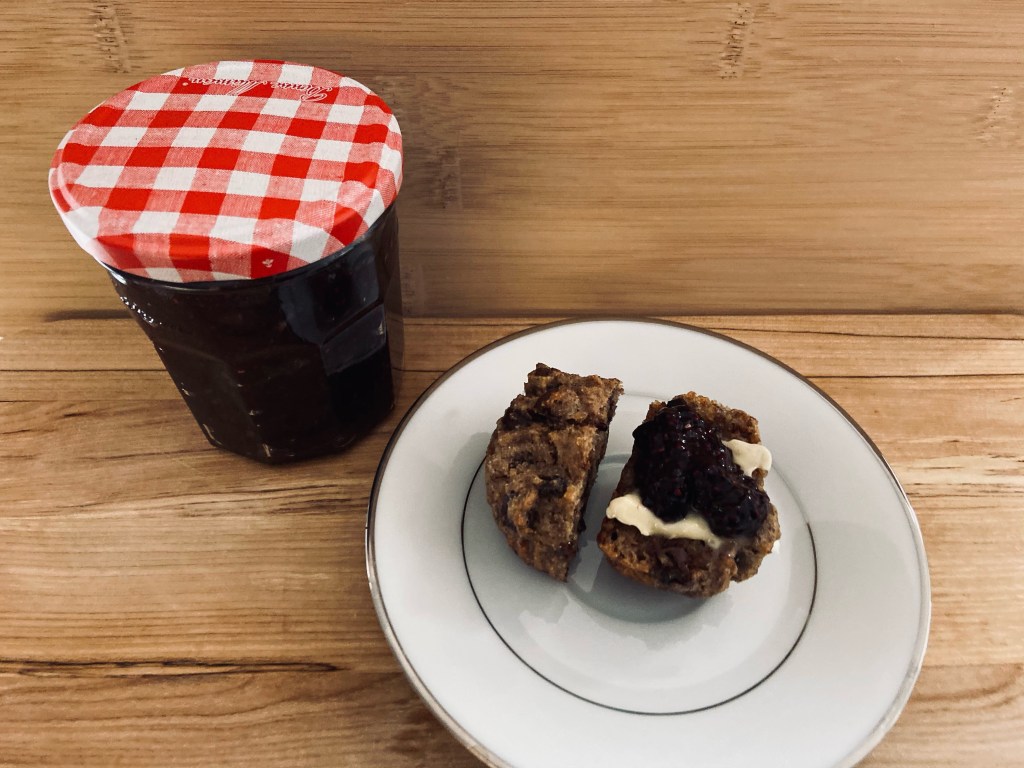
Store in a sealed jar in the fridge for up to a week.
Blueberries simmering on medium heat.
Notes:
Chia seeds provide a healthy dose of Omega 3’s
If you find that you would like a sweeter jam, you can add a little bit of honey to the final product. Our blueberries were sweet enough on their own so we skipped on the sweetener.
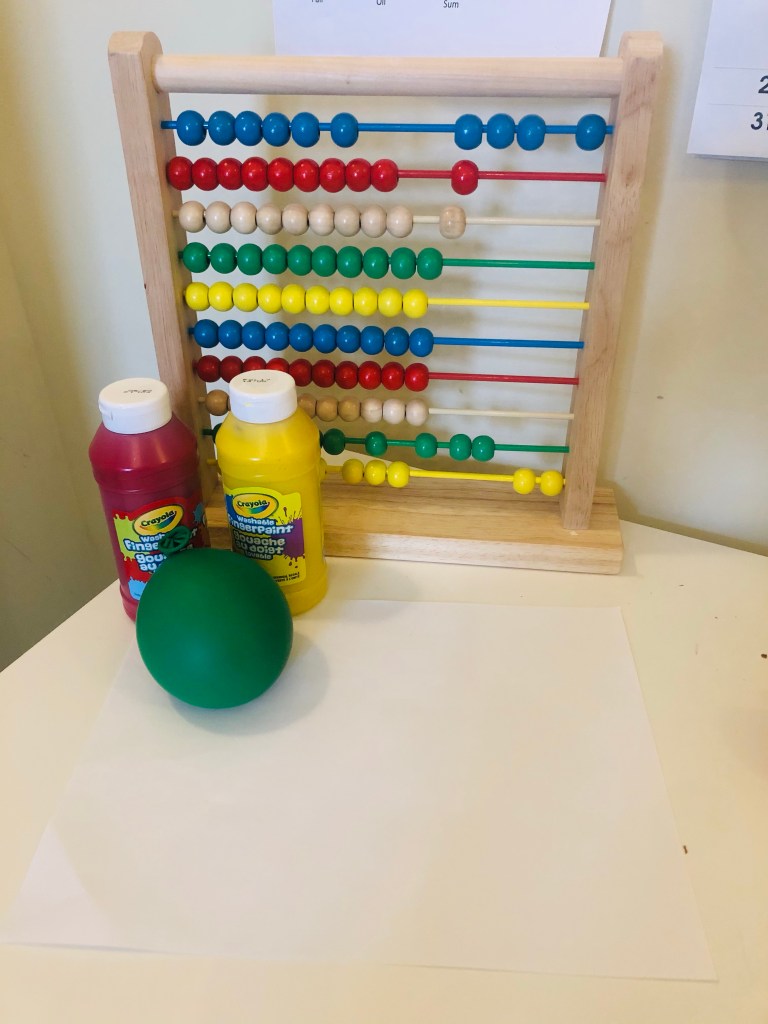
Fill a balloon with water and tie a knot. We suggest you don’t overfill the balloon, as this will weaken the balloon.
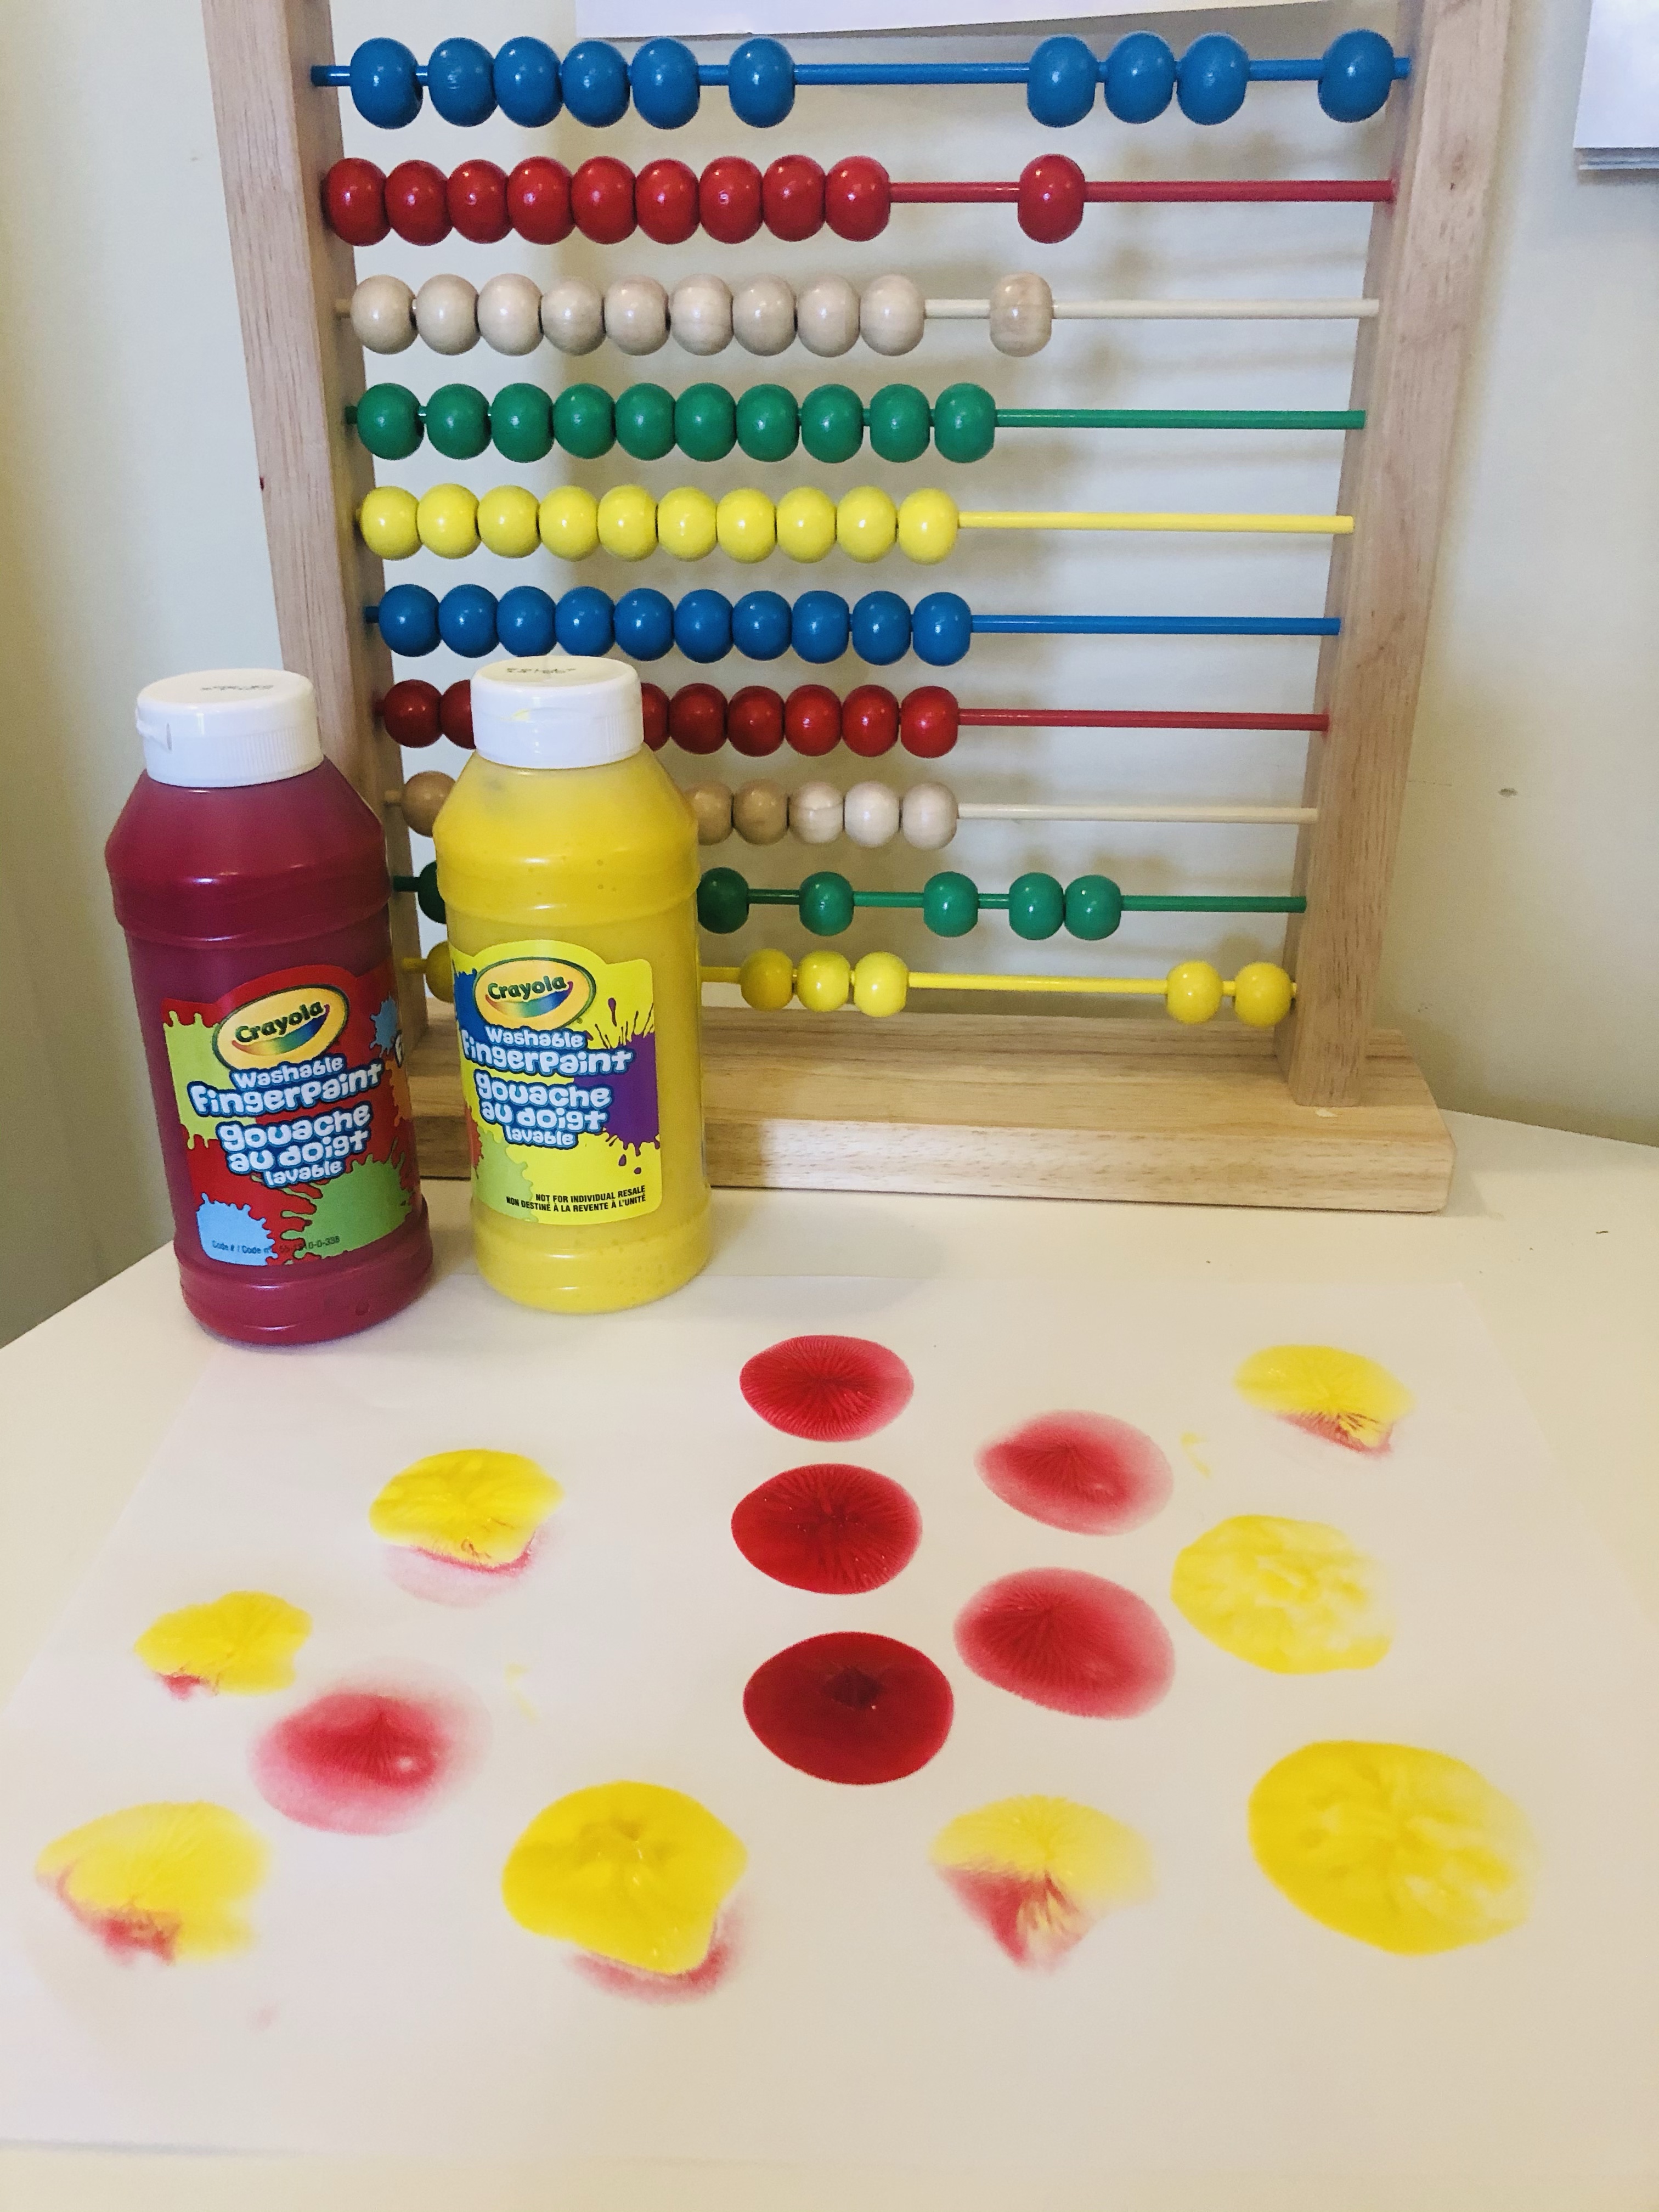
Pour paint onto a plastic plate. Repeat this step for as many colours as you would like.
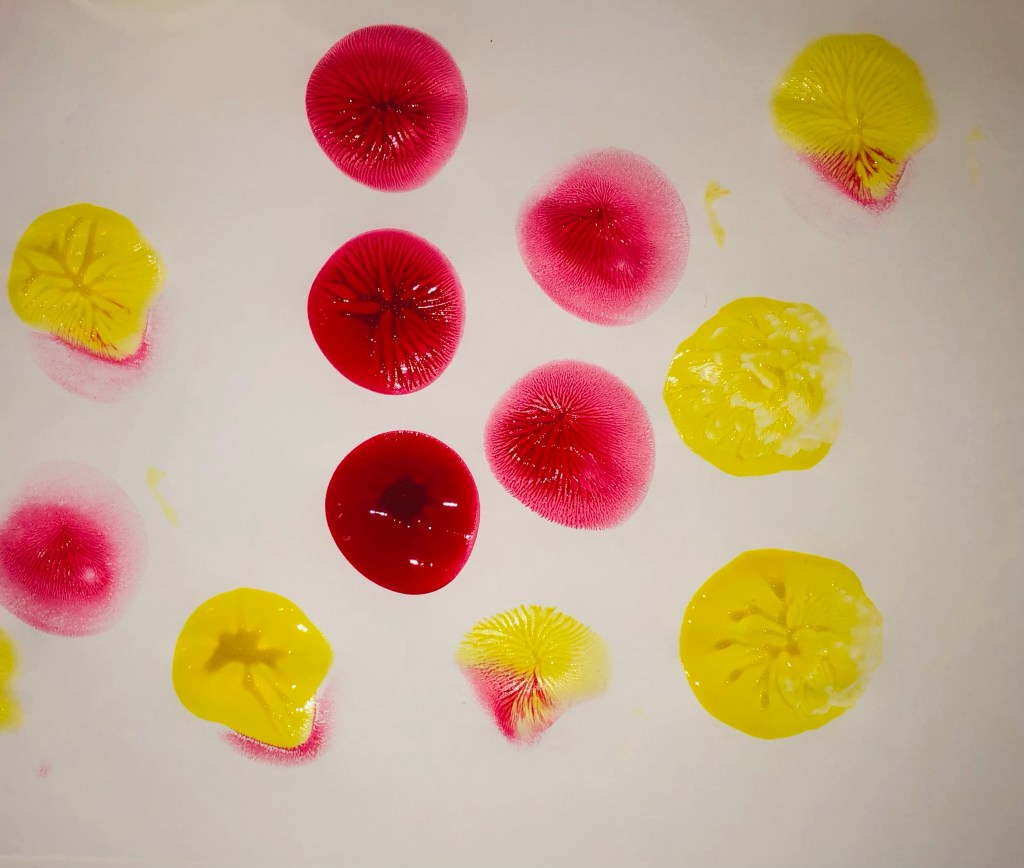
Dip the water balloon into the paint and dab it or roll it onto the paper.
This is a great activity for younger children.
Adaptations
Fill up additional balloons with air or rice grains instead of water and begin painting. Do you notice any differences from painting with a balloon filled with water?
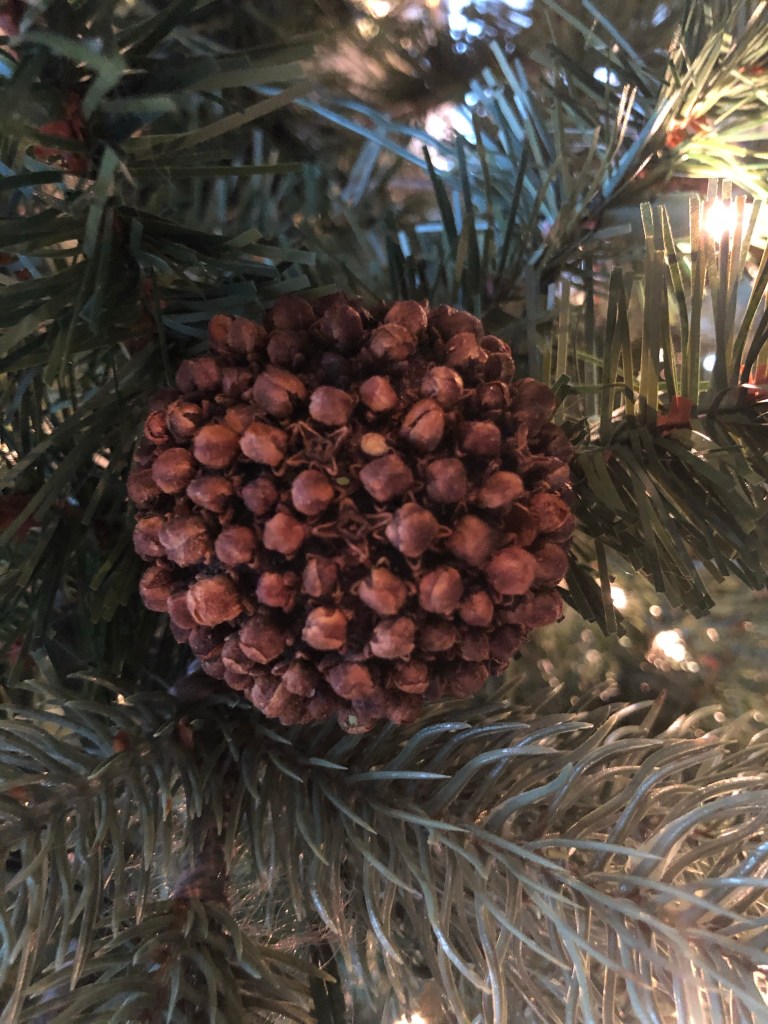
Stick the pointy end of the cloves into the clementine.
We like to stick the cloves all over the clementine and ensure that it is fully covered with cloves. This helps preserve the pomander ball.
Allow the pomander to dry for a day or so. Once dry it can be hung on the tree with twine or can be placed in a bowl for decor. They smell beautiful.
Note:
If you are doing this activity with small children, you may find that pushing the cloves into the clementine may hurt their fingers. Adults can help with this activity. Alternatively, adults can make pre-made holes with a toothpick. This makes it easier for children to push the cloves into the clementine.
You may also find that your child only enjoys doing this activity for a short period of time or they may get tired. If your child is tired take a break and come back to it later when they show interest. Activities should always be fun and enjoyable.
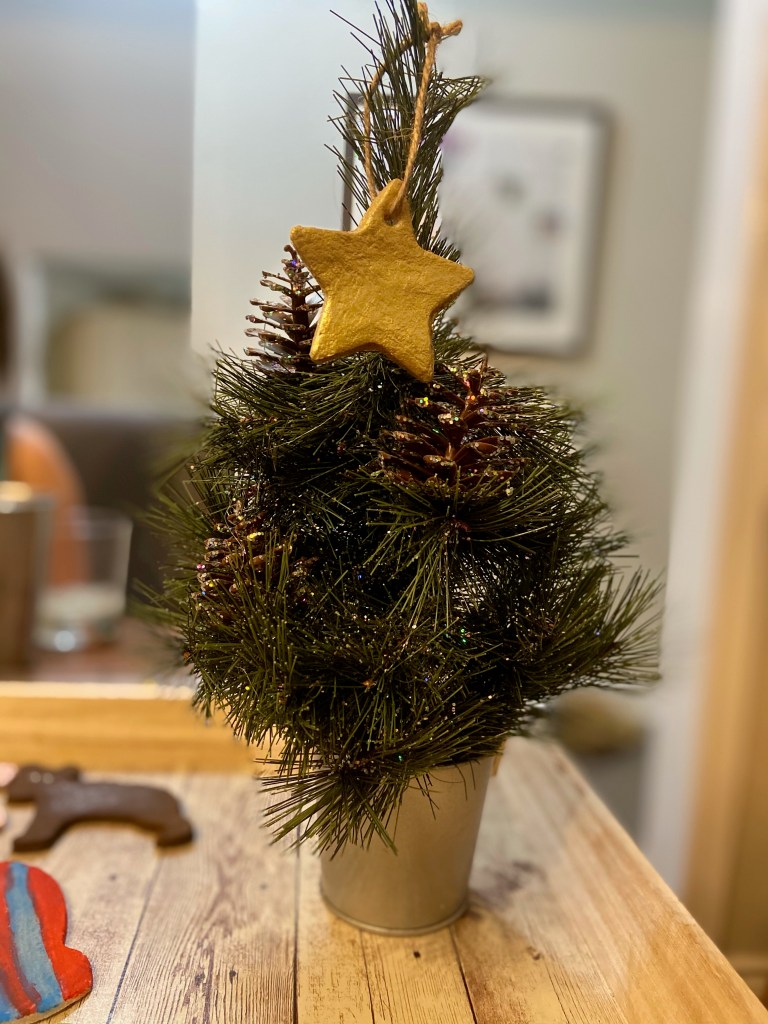
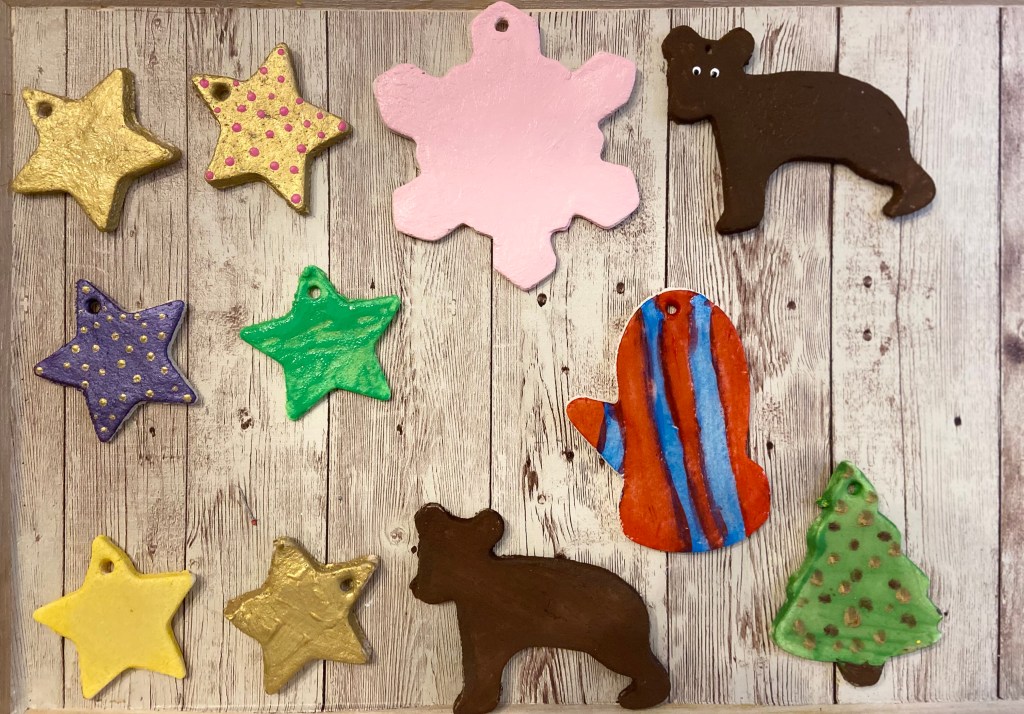
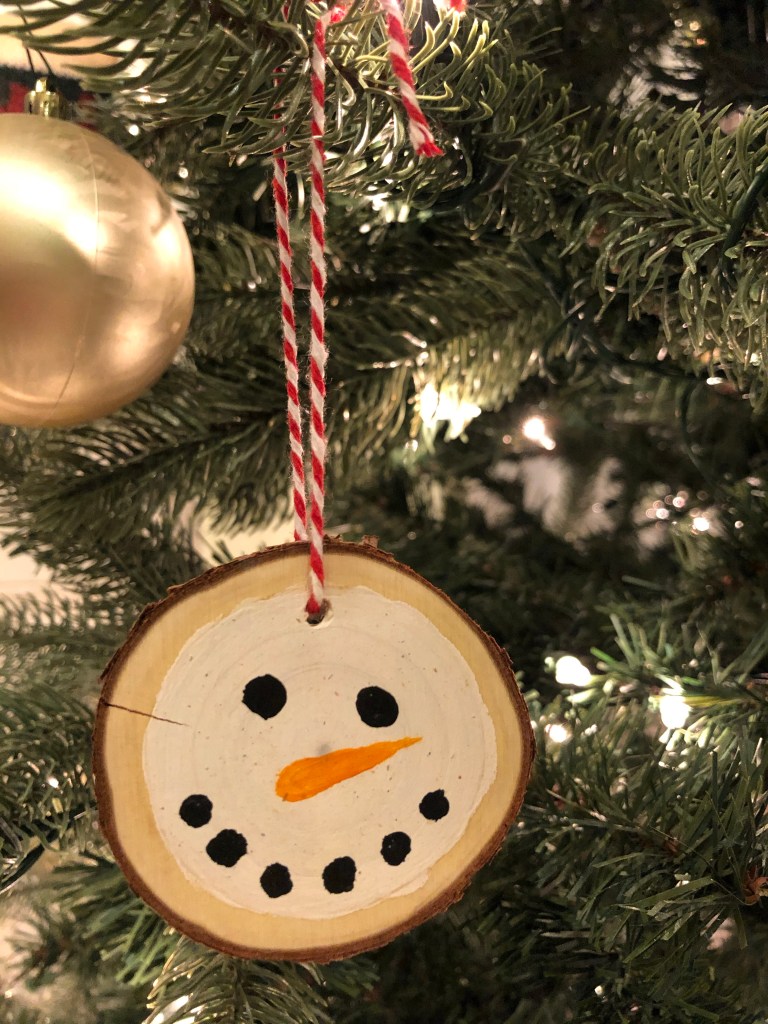
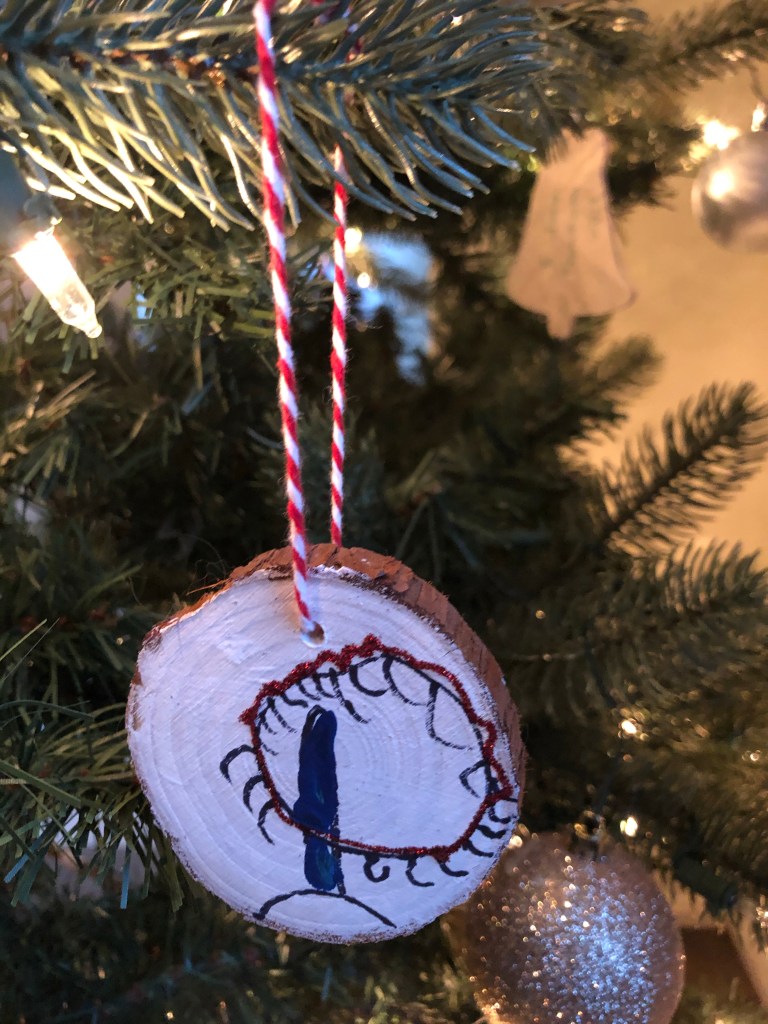
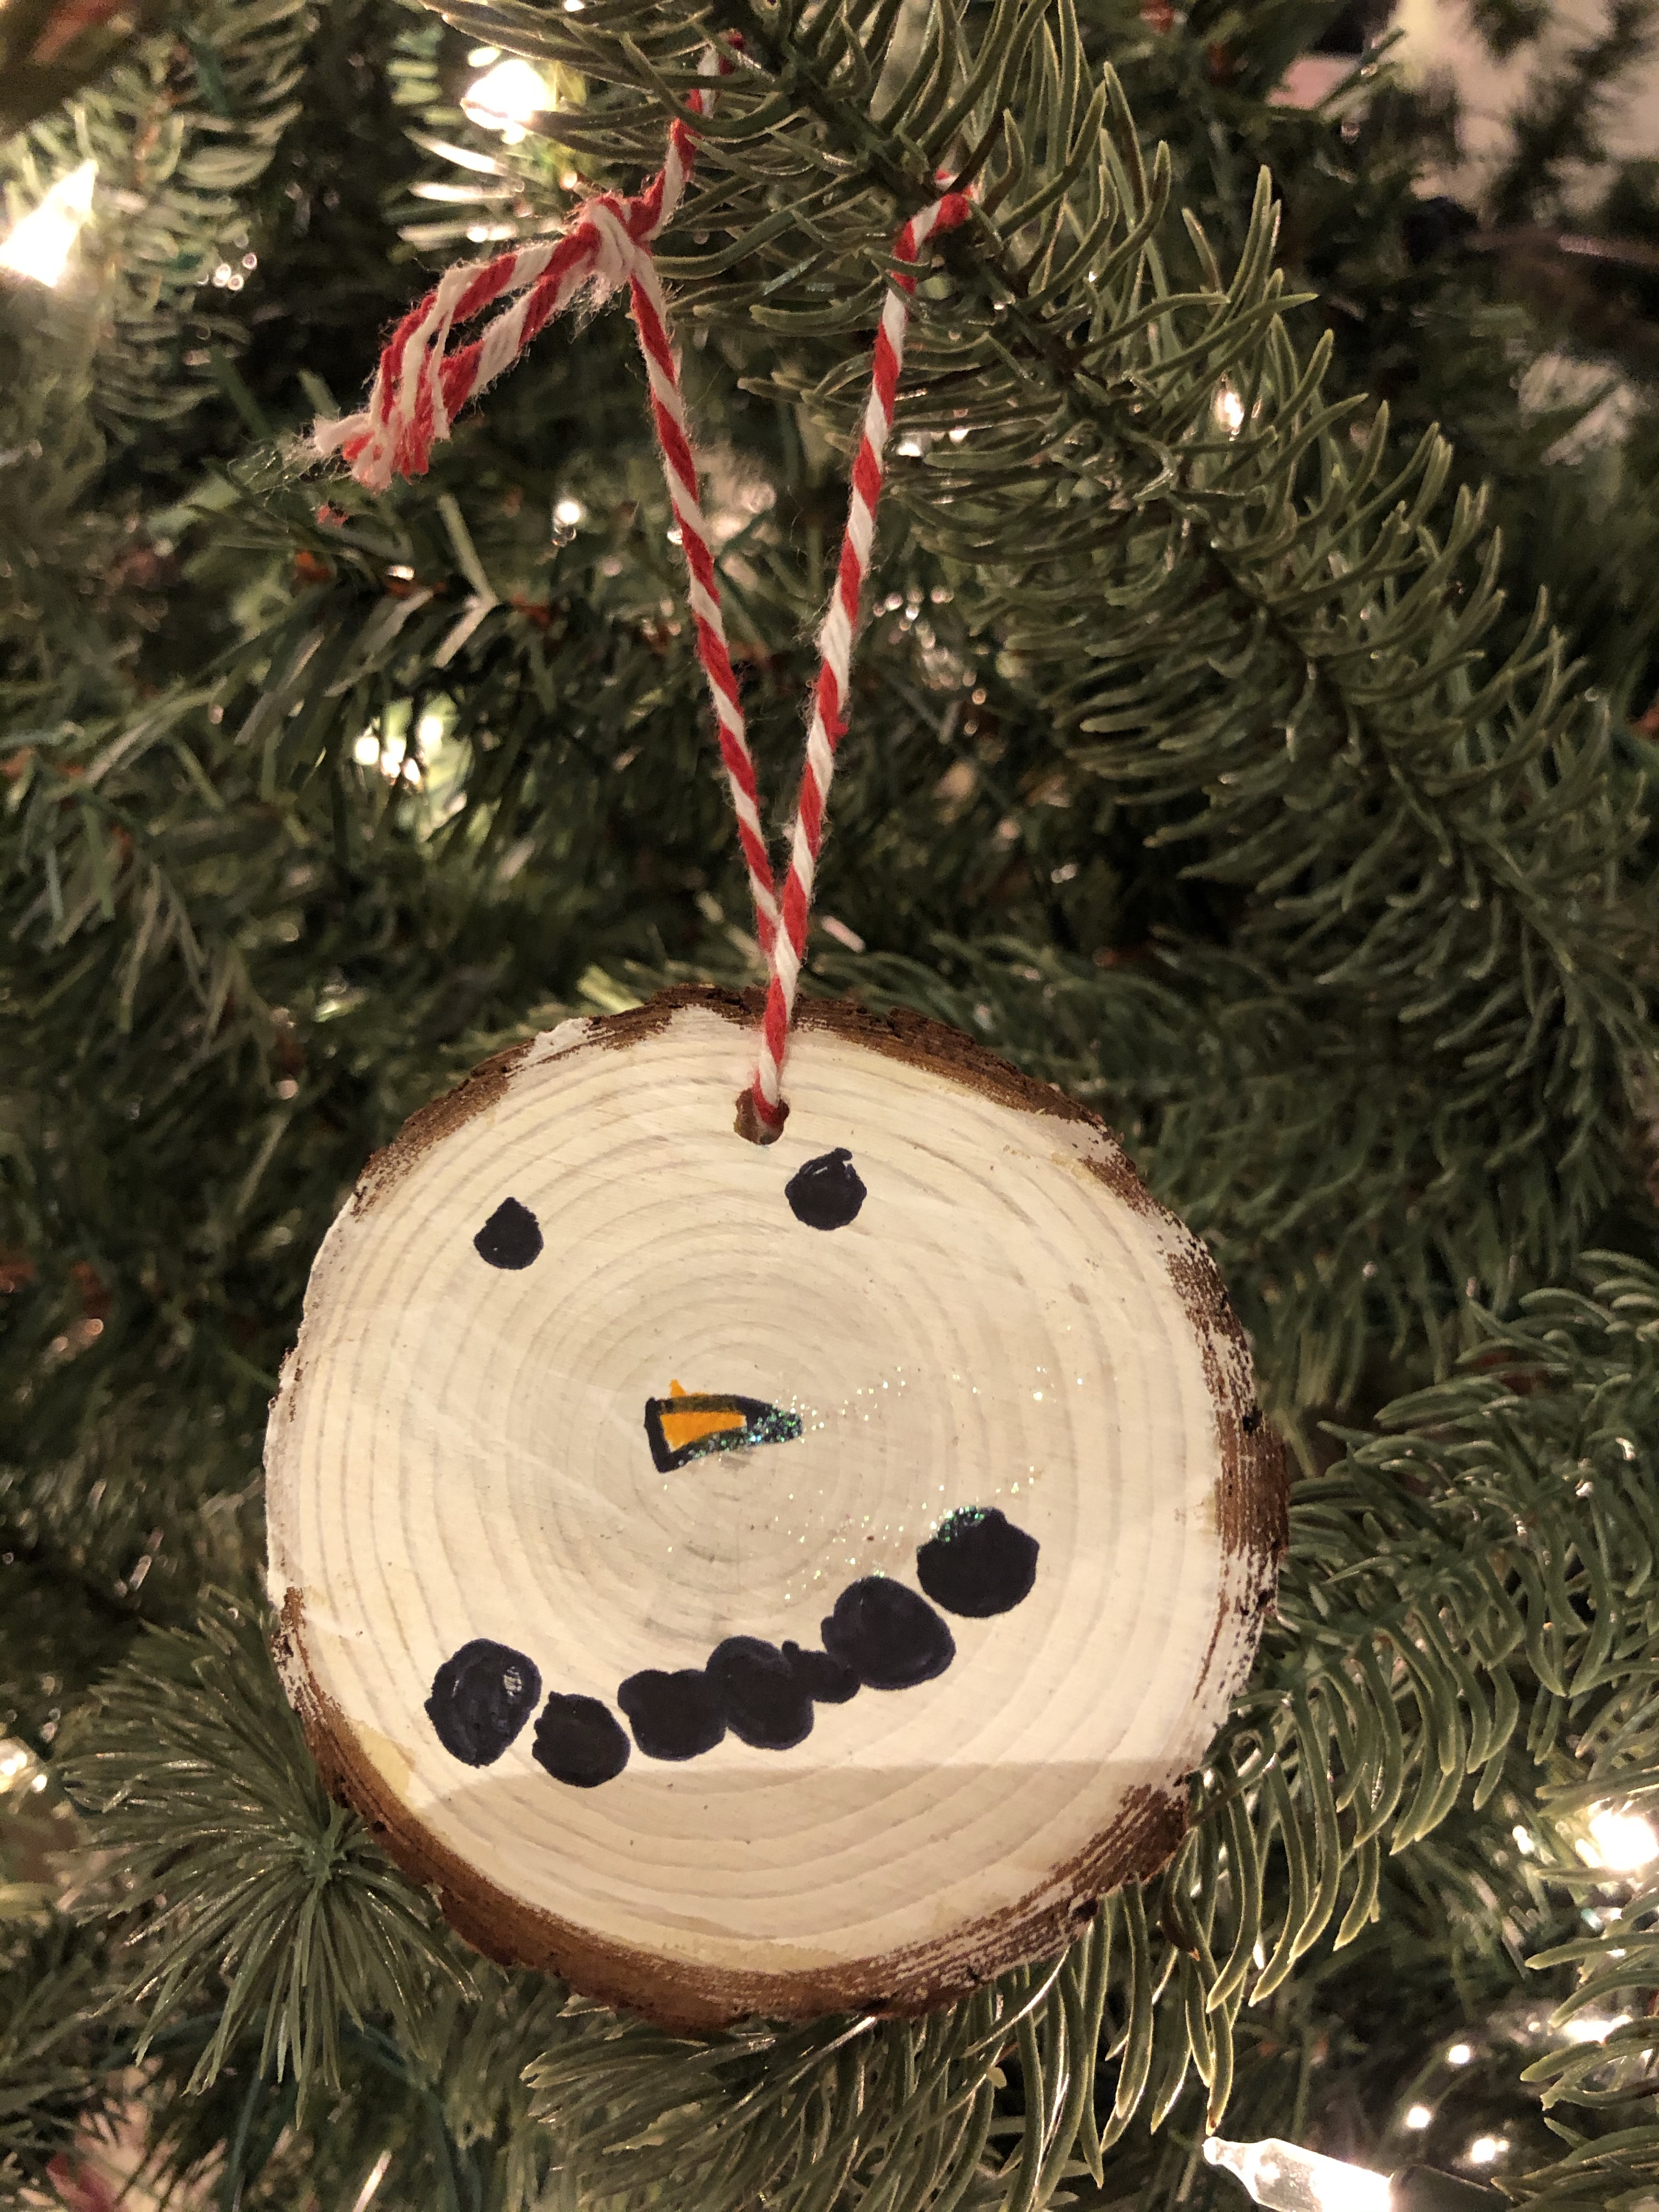
A beautiful salt dough ornament displayed on a mini tree.
These salt dough ornaments are a great gift for children to give. It allows children the opportunity to create a piece of art however they choose and in turn build their confidence.
Supplies
1/2 cup flour
1/4 cup salt
1/4 cup hot water
Paint (acrylic or washable)
Twine
Optional: Mod podge
Note: We like to make a double batch.
Instructions
Air Dry Method
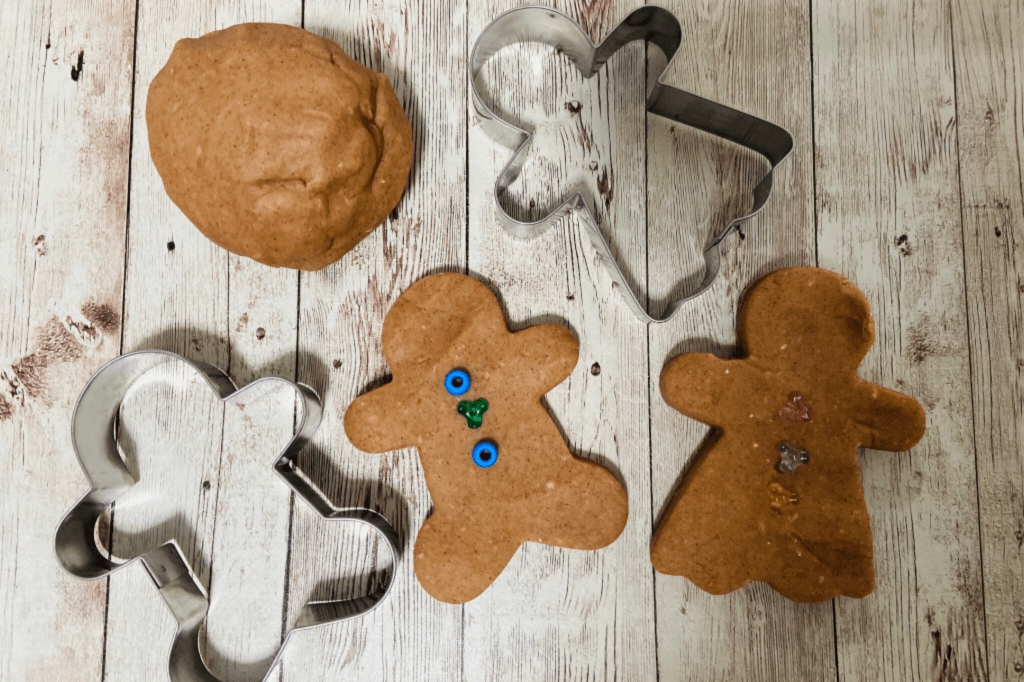
Combine flour, salt and water together and mix to create a dough.
Roll out dough with a rolling pin.
Use your favourite cookie cutters to create shapes.
Poke a hole in the top of the ornaments and allow to dry overnight.
Paint your ornaments the next day with acrylic or washable paint. We like to apply a coat of mod podge after the paint has dried.
Loop twine through hole and secure with knot.
Remember process over product. Allow young children to use their imagination to create unique works of art.
Baking Method
Preheat oven to 250 degrees F (120 degrees C).
Combine flour, salt and water together and mix to create a dough.
Roll out dough with a rolling pin.
Use your favourite cookie cutters to create shapes.
Poke a hole in the top of the ornament and place shapes on a baking sheet.
Bake in preheated oven until shapes are dry and hard. This usually takes about two hours. Although, baking time can vary depending on how thick your shapes are.
Allow ornaments to cool before painting with acrylic or washable paint. We like to apply a coat of mod podge after the paint has dried.
Loop twine through hole and secure with knot.
Remember process over product. Allow young children to use their imagination to create unique works of art.
Note: Keep away from dogs and other pets that may eat the ornament. The salt content can be toxic.
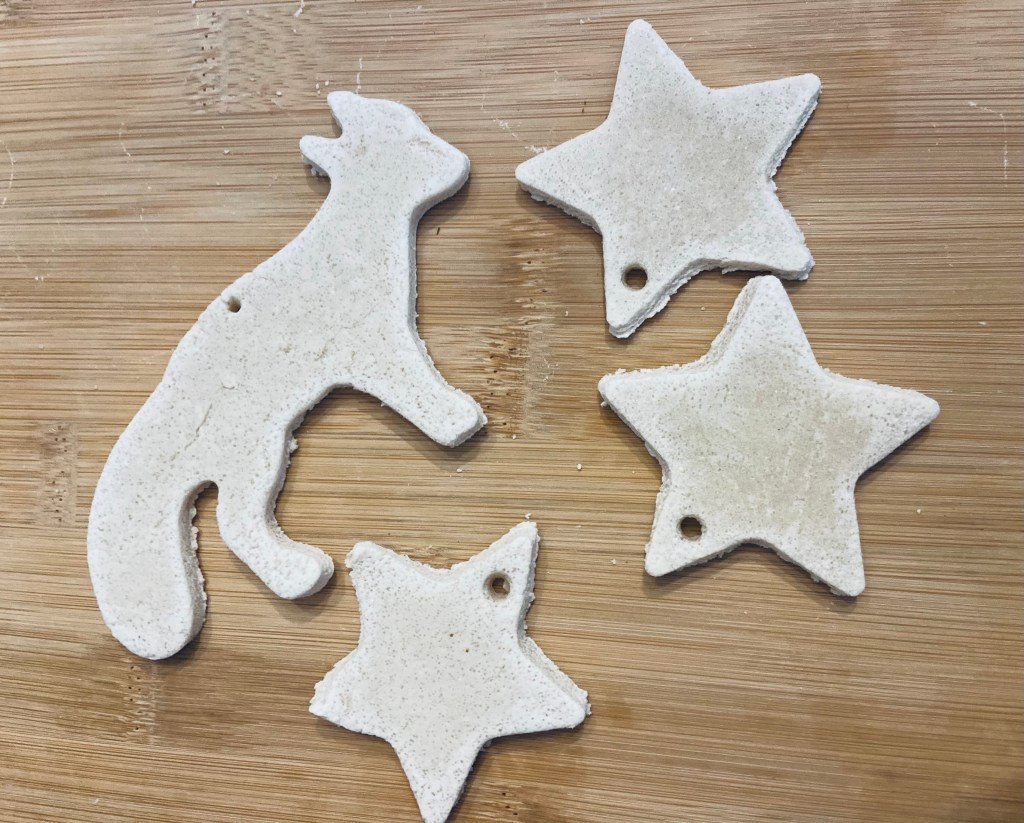
Salt dough ornaments that are drying and will soon be ready to be painted.
Skills
Math
Measurement
Counting
Numbers
Fine motor
Creative
Science
Sensory
Unique works of art that have been painted by creative hands.